
Against my mother's will I used to choose this airy, caramel confection when we were taken to the candy shop as kids. She will eternally favor truffles, the grand nexus of chocolate. But I like a bit of hardened texture in my confections, and this treat could not be more satisfying. Caramel seafoam is the adult equivalent of a teething biscuit. It presses against your teeth as you bite into the brittle caramel, rewarding you with sweetness for the task of chewing.
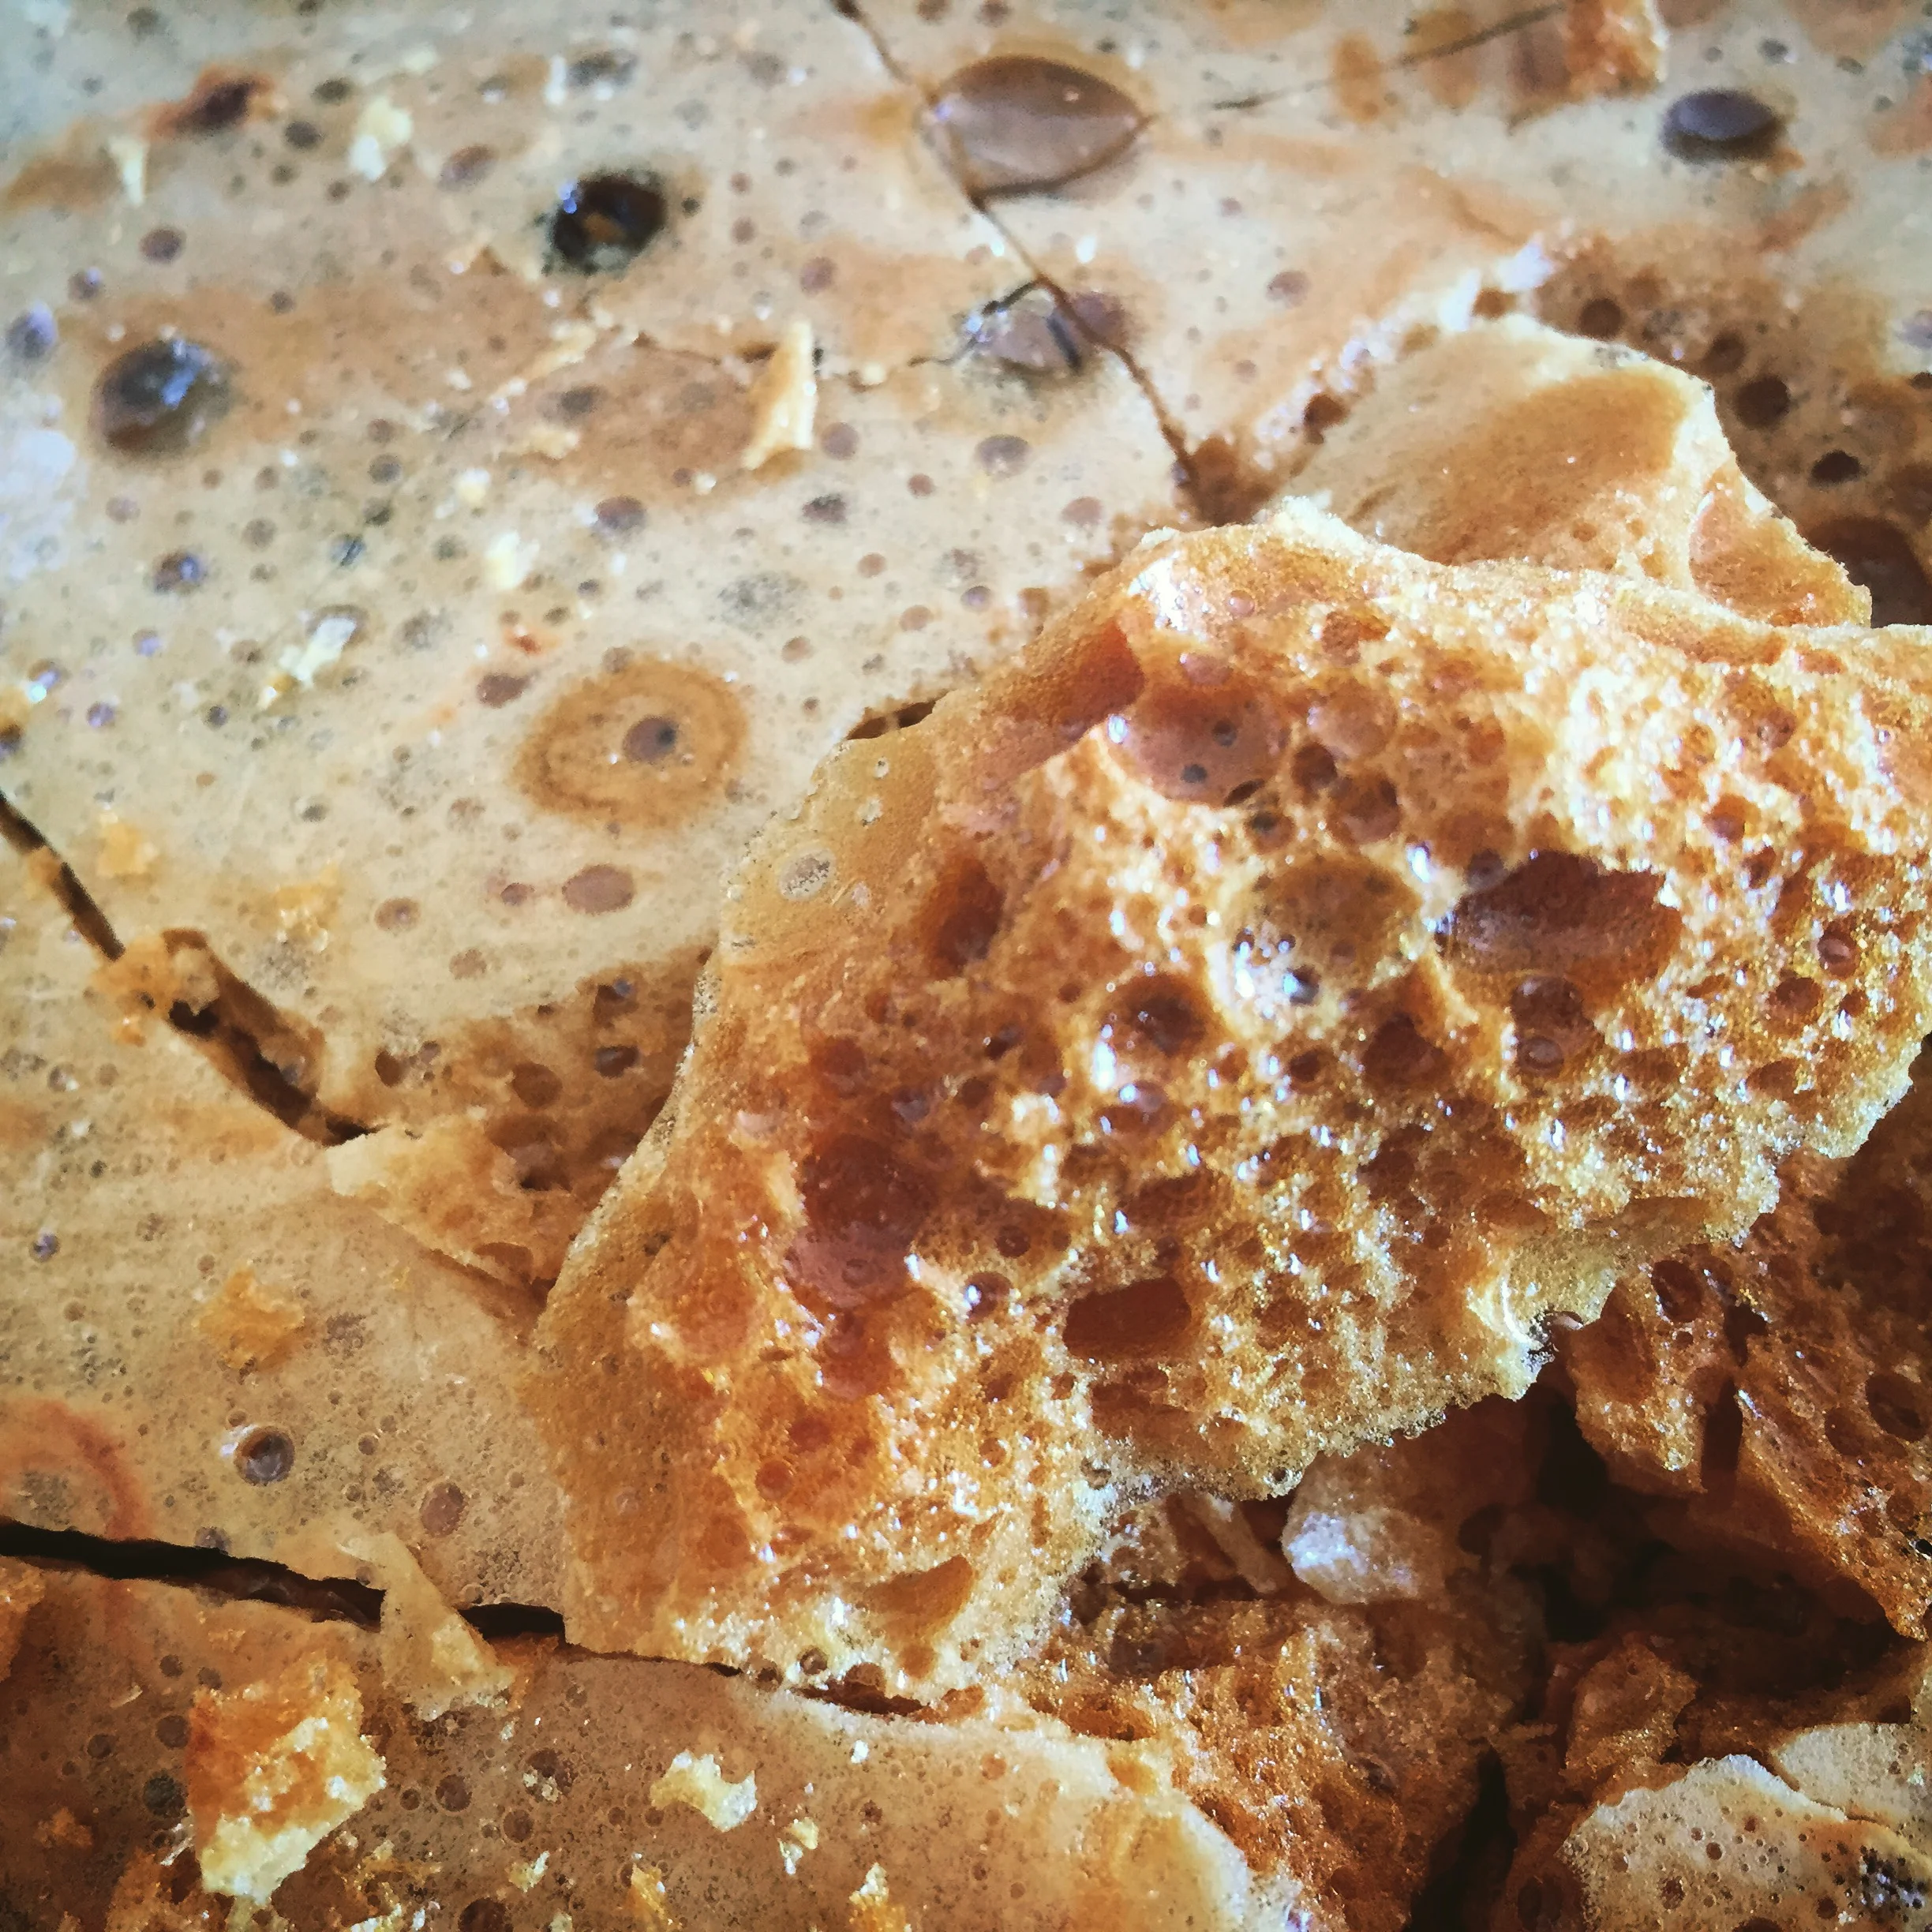
When it comes to the chemistry behind this confection, what we're really looking at is carbon dioxide racing to escape quickly-rehardening sugar. I add the vinegar in this recipe just at the end, right before I dump in the baking soda so I can make the most of that grade-school science experiment. Caramel traps the overflowing bubbles in a molten moon landscape that is almost as joyful to watch as it is to eat.
Ingredients
- 1 1/2 cups White Sugar (pure sucrose)
- 1/3 cup Corn Syrup (pure glucose)
- 1/3 cup Water
- 1/8 teaspoon Cream of Tartar
- 2 teaspoons Vinegar (either white or apple cider, but not balsamic!)
- 2 teaspoons Baking Soda
- 1/4 teaspoon Salt
Business
- Line an 8x8 baking dish with parchment paper.
- Add the sugar, corn syrup, water, and cream of tartar to a heavy-bottomed sauce pan and place it over medium-high heat.
- Don't bother stirring or mixing the ingredients, splashing the mixture around the side of the pan can lead to sugar crystal accumulation that will, in turn, burn before the caramel has been made.
- Allow the sugar mixture to bubble and burble, monitoring the flame underneath as you keep an eye on the clock. 10 minutes to caramel! If it starts to gain color before the 9th or 10th minute, lower the flame. Likewise, if the bubbles are slow to gather, then your heat is too low. Caramel making is a ten-minute exercise in calibration!
- Just as the golden color accumulates around the edge of the pan, pour in the vinegar and let the bubbles carry it through the mixture.
- Immediately following the dispersement of the vinegar, add the baking soda and salt (together if possible), and WHISK WHISK WHISK. The escaping carbon dioxide will foam up the caramel, this is good.
- Pour the light-golden foam into your lined baking dish and allow it to set for one hour at room temperature.
- Shatter the confection into shards and get addicted.
Recipe Notes:
This caramel should take 10-12 minutes to make. You can use a thermometer to check the temperature (we're looking for 300 degrees) but let me suggest that your eyes are capable of monitoring this perfectly well. If the heat is too low, your caramel will take too long to reach the ideal temperature. In that instance, the water will have cooked off long before we reach ideal temperatures for molecular breakdown (caramelization), resulting in sugar that is too reduced and likely to burn. If the heat is too high, the sugar will burn before it has time to gently break down into new flavor and color components (caramelization).
Set a timer for ten minutes and put the heat to medium high. The bubbles will begin at the edge of your pan, then move inward. They will, likewise, begin as large, thin bubbles, and then progress into small, thick bubbles as the sugar reduces. For this particular confection you do not need a deep golden brown. You should begin to see caramel color around the edge of the pan in the 9th or 10th minute, and that is the perfect time to add the vinegar and baking soda.